How To Make a Zine

Friday, July 27, 2012


OR HOW I MADE PISTACHIO

It's been almost three months since I debuted Pistachio, and I'm still over the moon with what an incredible experience it was! I have been asked several times to help out with other people's zines and how I made my own, and since I've begun the beginning processes of creating the second issue, I thought now would be the perfect time to share with you How I Made Pistachio:

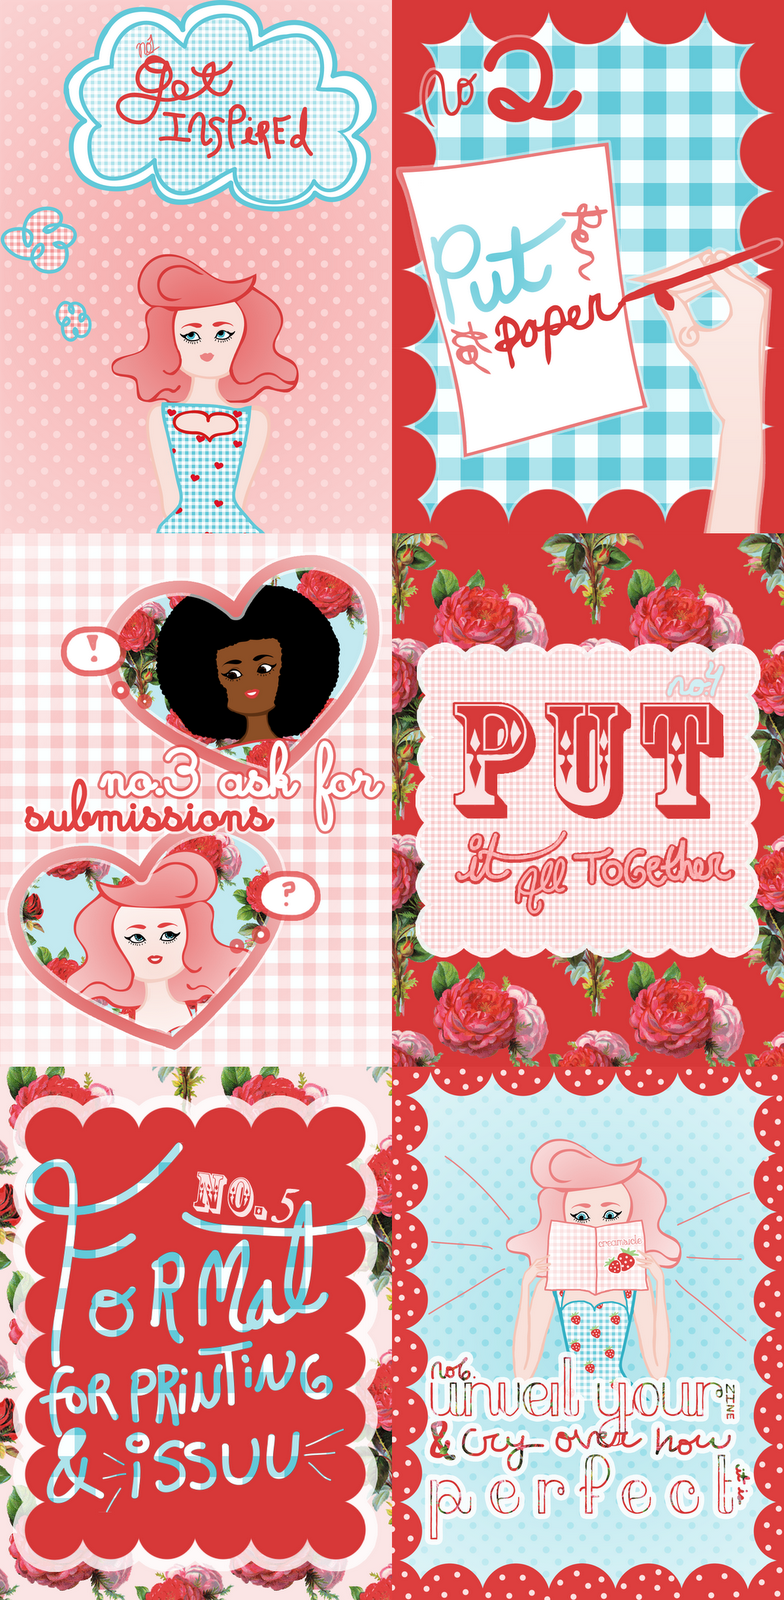
NO 1: FIND INSPIRATION
Regardless of whether it is a child's painting or the Mona Lisa, you need to be inspired by something and have a clear picture of what kind of theme, tone, and overall color scheme you want for the zine. I went through images and clippings I had saved to help shape the tone and theme I wanted.

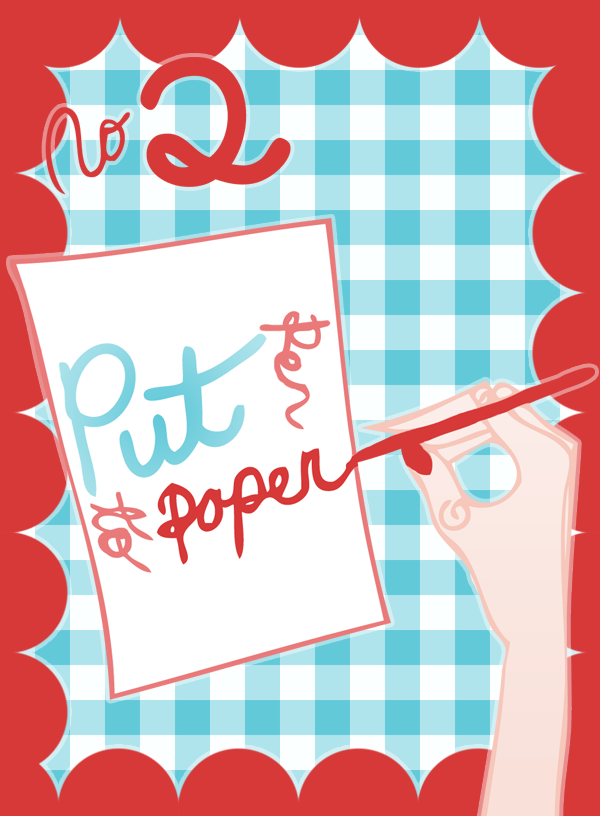
NO 2: PUT PEN TO PAPER
Write the articles you want to write, draw the drawings you want to include, and take the pictures you want to take for the zine. Also, if you have started getting ideas for how you want the zine to look, sketch out layout ideas - this helped me figure out how I wanted arrange a series of pictures and text on a page.

NO 3: ASK FOR SUBMISSIONS
Now this isn't mandatory, but I cannot recommend it highly enough! I felt so honored when people I really admired consented to being a part of the zine, and when I posted a call for submissions here I received some really incredible submissions by people I didn't even know read my blog! Of course, there was some entries I had to turn down - they were great, but just didn't fit the aesthetic of my zine. Turning them down was hard, but this is *your* vision and you should not be obligated to include anything you don't want to. Just be kind when you tell them you can't use their piece!

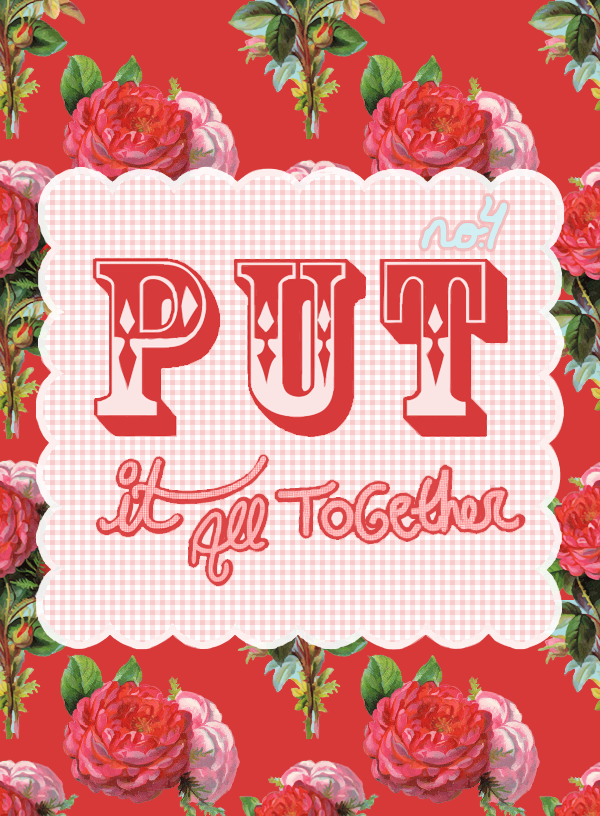
NO 4: PUT IT ALL TOGETHER
Compile all of the illustrations, submissions, and articles and begin designing your zine! This was the most difficult part - there were so many possibilities! Using Photoshop CS4 and a design inspiration Pinterest board to help me, I designed and put together all the different elements into a page. One thing I noticed was I could spend hours and hours arranging all the pieces in the slightest different ways - and it got to the point where I was just wasting time. Unless you want a super sleek, professional quality zine, do not sweat the small stuff - for my specific case, what I was making was just supposed to be a fun, personal side project!

NO 5: FORMAT FOR PRINTING AND ISSUU
Another part I struggled with was the actual process of printing and figuring out how to upload it to Issuu, a site I really love because it allows you to flip through the zine as if it was a real magazine! I made two different versions of the zine, one formatted like the standard half-size zine (a great diagram for this can be found here) and the other as a pdf file to upload to Issuu. For more about uploading documents to Issuu, visit here.

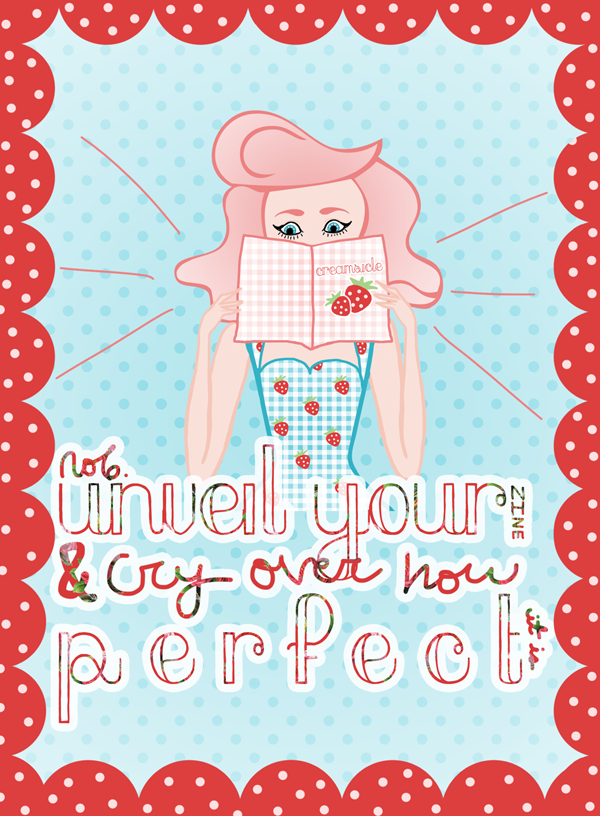
NO 6: UNVEIL YOUR ZINE, PRINT OUT A COPY,
AND CRY OVER HOW PERFECT IT IS

Pretty self-explanatory! By the time I completely Pistachio, it was completely different from what I imagined and nowhere near perfect - but that didn't matter! I had created something I felt truly proud of and couldn't wait to share it with you all. As I said to my friend who expressed doubt over her artistic skills and thus felt like she couldn't make one herself, one of the best aspects of zines is that you are in control and can do anything you want with the zine - it doesn't matter if you aren't the world's greatest writer or artist, just write or illustrate what you feel and that will be good enough.

Feel free to email or comment asking questions, and I will try to answer them to the best of my ability! Also please let me know about any zines you have created or are planning to make! I wanna hear about them ^^

Floral background is courtesy of Pugly Pixel

♡,
Kailey


Candy

Saturday, July 7, 2012

Hello! I am so so pleased to announce, that thanks to the support of people like you, I won ModCloth's Marvelous Manicure Contest! I absolutely cannot wait to see how the ladies in ModCloth's Nail Klub interpretation of my nail design for the blog, and am planning on what I should get from ModCloth with my $75 gift card (any suggestions?) *_*

Meanwhile, how gorgeous is my dress?


DRESS Thrifted Vintage AZURE BAG c/o Oasap TIGHTS Forever 21 SHOES Kohls

The detailing on the dress is just so beautiful! It was made by "House of Bianchi", which opened it's doors in the late 40s! I am no vintage clothing expect, so what do you think the date on this dress is?
Meanwhile, I am completely in love with my new bag from Oasap! The color is gorgeous, and the inside of the bag is just roomy enough to fit everything I would need in one place! The shoulder strap is detachable, so you can use it as a hand or shoulder purse. This is my new go-to purse for every occasion, I love it that much *_*

I hope everybody had a safe and fun fourth of July, and things might be a tad bit quieter around here for a while! Until then,

KISSES,
Kailey


Guest Post: Andi Be Goode Hearts Grease

Wednesday, July 4, 2012

For Mermaidens' second guest post, film and vintage clothing expert Andi Be Goode tells us why Grease is one of her very favorite movies!

"Grease is the word”, or so we are told by the opening song for the 1978 movie musical of the same name. It also happens to be one of my all-time favourite movies (just behind Rocky Horror Picture Show which takes top position on that list) and has been since I was a small child and my best friend and I would dance to Greased Lightning (not understanding all of the words) for our mums.


I'm pretty sure Grease has influenced my taste in a lot of things – my love of the '50s (though I think this was helped by having a mother older than most of my peers'), my desire to own a pink car and have a cool in which to hang out with my group of friends (and a group of friends to hang out with), and, perhaps, my tendency to want to break out into song every so often (bound to happen when you are reared on musicals).

I don't think I could possibly pick a favourite part of the movie but I can tell you a few things I may love more than other bits, like, for example, the appearances by Frankie Avalon and Edd Byrnes two big swoon-inducing stars of the late 50s/early 60s.

And how could I not mention other stars of classic Hollywood like Eve Arden and Joan Blondell? (Growing up, I never realised just how many of the older actors in the film had had such prolific and long movie careers... I'm sure I'm missing some!)

I once read a website about how American teenagers really dressed in the 1950s and the author of the site said how unrealistic Grease is in that respect – but it is a musical. I don’t usually look to musicals for historical accuracy but, even so, the costumes in Grease capture the essence of what is stereotypically 1950s. Even musicals made in the era in which they are set are exaggerated representations of the fashion, etc., and that’s what I love about them.

Grease doesn’t quite fit into the hyperreality of other musicals that I love from the 40s and 50s but I think it’s a similar kind of idea. The world of musicals is another world entirely and why people can be so divided by them.

I love the incorporation of the musical's original songs with songs of the era, sung by Sha Na Na at the school dance. The school dance scene is, of course, one of my favourites of the whole film...I still want Rizzo's dress. And probably Frenchie's, too...and Cha Cha's! In fact, just give me all of the dresses please.

Unlike other fans, I don't hate the sequel – in fact, I wholeheartedly embrace it! But I'm not here to write about Grease 2 so I'll just end with some lyrics from my favourite song from the film (and also the song my best friend and I chose to be "our song")

Ra-ma la-ma la-ma ka ding a da ding de dong
Shoo-bop sha wad-da wad-da yipp-it-y boom de boom
Chang chang chang-it-ty chang shoo-bop
Dip da-dip da-dip doo-wop da doo-bee doo
Boog-e-dy boog-e-dy boog-e-dy boog-ed-y
Shoo-by doo-wop she-bop
Sha-na-na-na-na-na-na-na yip-pit-y boom de boom
Ra-ma la-ma la-ma ka ding-a de ding de dong


            Andi is a ukulele playing, film
            loving, and vintage clothing
            enthusiast who can be
            found blogging at Andi Be Goode!
            Thank you so much Andi ♡!


Guest Post | Mermaid Dress DIY from Kate

Wednesday, June 27, 2012

I asked Kate Gabrielle from Scathingly Brilliant, one of my absolute favorite bloggers, if she could do a DIY post whilst I'm busy moving - and this is what she came up with!

For my DIY post, I was inspired by Kailey's love of mermaids! I decided to create something that mimicked the pretty scaled pattern on a mermaid's fins, and came up with this easy peasy stamped dress project!

You'll need: a white cotton dress (or shirt, or skirt), two bottles of fabric paint (your main color and white), a wooden block (I stole one from my little brother's old block set), scissors, a compass, a piece of craft foam, a paintbrush and some free time.

1. With the compass, draw a half-circle onto your foam. You want it to be about the same width as the wooden block.

2. Using the half-circle as your guide, sketch in the rest of your scallop with pencil, and then cut it out.

3. Glue the piece of foam to the wooden block, making sure that the ends of the scallop are even with the top. (It's okay if the bottom of the scallop doesn't quite reach the bottom of the block :)

4. Make sure you have cardboard or something under your dress so the paint won't seep through to the back side! Then put a thin layer of fabric paint on your stamp using a paintbrush.

5. Starting at the top of the dress, stamp your first scallop. Then repeat the pattern underneath, with the next two scallops meeting in the middle of the one above.

6. For each new row, mix a little bit of white fabric paint with your other color to achieve the gradient look. This was an important part of my project because I knew that I didn't want to stamp the skirt (the gathering at the waist would have just been way too tricky to maneuver!) so I wanted it to fade to white before it hit the skirt.

7. Let your dress dry for a few hours (I let mine dry for 24 hours before I wore it, although it felt dry much sooner) and voila! You now have a brand new dress that would make any mermaid proud! :)

            You can find Kate Gabrielle sharing her love
            of pastels, cats, hayley mills, and DIY
            projects at Scathingly Brilliant, and don't
            forget to check out her etsy shop!
            Thank you again Kate ♡!


Favorite Films: Disney's Cinderella (1950)

Thursday, June 21, 2012

Concept artist Mary Blair and the whole Disney crew really outdid themselves with the animation for Cinderella, my personal favorite Disney film - the color scheme of soft blues and pinks paired with the detailed, beautifully rendered settings is a dreamland. The characters, from Cinderella herself to the mice and birds, are just the icing on the cake. To me, Cinderella is art in motion.

I've always thought the movie version of Cinderella was much more pretty than the generic stock images of Cinderella that populates the prepackaged pink toy aisles!

This Prince Charming has some sass~

♥, Kailey

Hi!atus

Wednesday, June 13, 2012

Hello! And goodbye :( Unfortunately the time has rolled around where I need to dedicate my time 100% to packing and cleaning (it's been a very long road, getting ready to move to a new state)!

HOWEVER, I have some blog posts queued for here and on my tumblr - and you can always reach me on twitter or by email. So hopefully you won't miss me too~ much ^.~

Hugs and kisses!

Kailey

Mermaidens - Musings of a Modern Mermaid ©2011-2014 All rights reserved
Portrait in Header Illustration by Sibylline Meynet designed by Designs Blue Moon