Showing posts with label how to. Show all posts

The Mermaidens Thrifting Guide

Wednesday, February 27, 2019

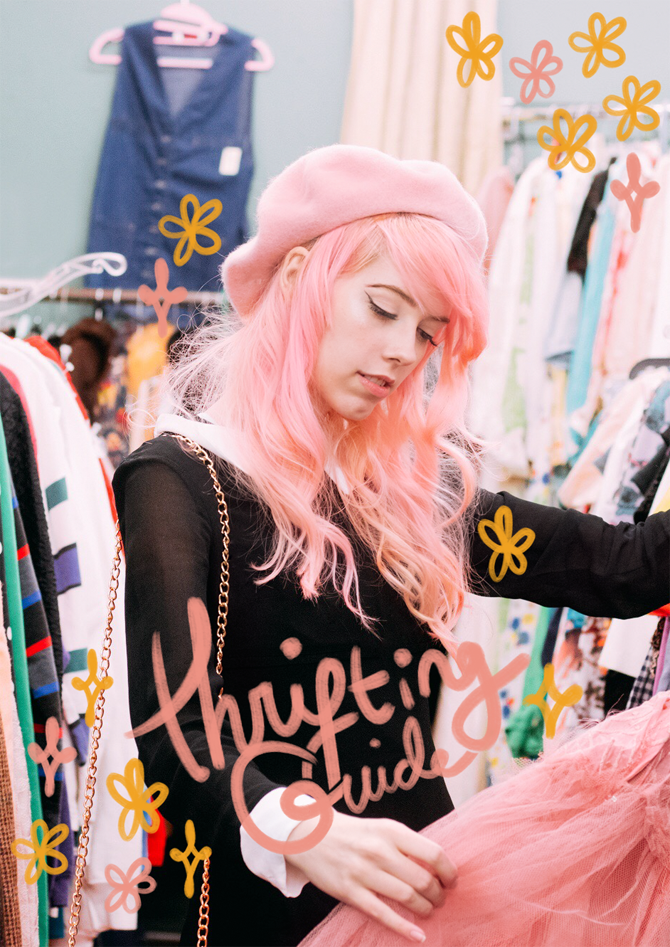
There is nothing quite as satisfying as emerging from your local thrift store after digging for hours, clutching your hidden gems closely! Since I've been thrifting for as long as I can remember, I wanted to share an updated guide on how to thrift like a pro! Huge thank you to Courtney for these pictures ♡

Photography Q & A

Tuesday, February 27, 2018

My interest in taking photos started when I was very young and was fueled by my fear of loss. In my mind, if I could capture a photo of something I loved, it was like I could keep part of it forever. This slowly turned into me starting Mermaidens and investing time and love into learning about photography to better document what I love!

Trying to navigate the photography industry was, and still is, overwhelming and intimidating. While I am very trepidatious to call myself a “photographer” (eep…), I have learned a lot over the past few years and I want to share any knowledge I can with you all! Whether it's with a dslr or iPhone, a snap of a posed model or a candid moment of your friend laughing - I believe everybody should be able to create art and document the important and beautiful things in their lives!

How to get started with photography and with what equipment/software? I know there’s lots of guides online but it’s overwhelming. - Wes
I will be speaking from the perspective of someone entirely self-taught. If you have the resources for classes, that’s definitely a great option, but for me that wasn’t possible.

Here's an actionable list of things you can do to "Start" your journey:

  • Ask yourself questions and try to narrow down what you want (Do you want a flip out screen? How much are you willing to spend? Etc.)
  • Google phrases like "best cameras under $600", "best lenses under $400" (depending on your budget), etc., to help you narrow things down
  • Find out what people you admire use (photographers and youtubers usually list or talk about their favorite equipment somewhere!)
  • Found a camera/product that sounds good? Cross reference everything - read and watch as many reviews as you can on that specific camera, software, or piece of equipment

    Once you have what you need - practice practice practice! Sometimes, trial and error is the best teacher, so let yourself have fun and experiment! Try not to get discouraged or be too hard on yourself at this point, you need to give yourself room to make mistakes so you can grow.

    What camera do you use? - Annie
    I have a Canon Mark II 7D and use a 18-135 and 50 mm f/1.8 lens interchangeably. I love this camera but there are definite pros and cons - I'm not sure if I'd recommend it for people trying to take self-portraits and it is definitely not a camera for beginners. I also use my pink Fujifilm Instax Mini 8 and an iPhone 7 - both of which I LOVE. iPhones really take amazing photos these days - I highly recommend using them to start out!

    How do you put a portfolio together? - Wes
    Take as many pictures as possible! Take pictures of your cat, both candids and posed photos of your friends, a pretty street, an experimental self-portrait, the way the sun streams into your room - and then look at them all with a critical eye. Ask your friends which they like if you need to, and then compile your favorites.

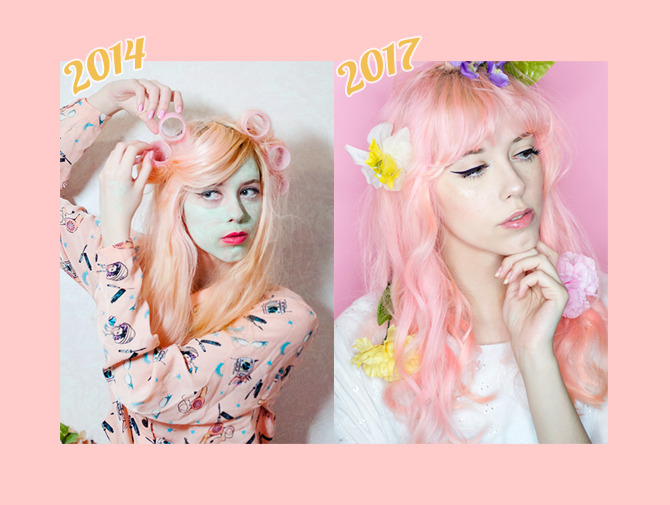
    How do you take nice looking self portraits? I remember you posting an old vs. new self portrait of yours and the new one looked so much more professional! - Stefania
    Thank you so much! I genuinely love taking portraits and feel like I have made a lot of progress in the past few years taking them.

    1. Research Light
    Honestly, researching portrait lighting on Google and Youtube have been invaluable to me! I saved up for a ring light * and a lighting set and started playing around. Do you need both or either though? Absolutely not. Sitting in front of natural lighting (think open windows) is an amazing and free option - it’s just always cloudy where I live and since this is my job, buying some lights was an investment I (oh so slowly) had to make. Also, look into DIY or store bought reflectors!

    * I got this one which I love, some more expensive models come with customizable intensities of light however, and this one doesn’t which is a bit of a con!

    This video by Haze Films is a great example of what a difference light positioning can make.

    2. Angles
    Figure out what angles work best for you - take photos from every angle you can think of!

    3. Backgrounds
    Play attention to your background! Invest in a paper backdrop, set up a little space in your living space that looks cute, or at the very least, make sure no mess or clutter is visible behind you!

    In general, I also highly recommend Maya Washington's incredible Tech Talk series, which is an invaluable resource (go give her a follow and like her videos to give back for all her hard work)!

    ~
    Thanks for reading! Please send me any photos you take - I'd love to see them! Also, if you have any more questions feel free to comment and I'll try to answer in part two ♡
  • DIY Daisy Sunglasses

    Monday, March 18, 2013

    Recently I had the joy of contributing to MissRobin, a wonderful magazine which aims to "modernize 40’s women fashion magazines"! Created by fashion student Lucas Asin and with contributions from photographer Helena Exquis and blogger Laia Doll, when I saw the first issue I just knew I wanted to be part of the second!

    The second issue's theme of 60s, daisies, and youth immediately inspired me to try a DIY idea I have been meaning to figure out for months! Based on these Moschino Cheap & Chic sunglasses that I'm still obsessed with years later, all you need is cheap sunglasses, foam, and glue!

    Check out the full DIY in MissRobin's second issue here! And please let me know if you have any questions or make a pair for yourself!

    ♡,
    Kailey

    Thrifting 101

    Wednesday, November 21, 2012

    Since I've been having a really good thrifting streak lately, I thought it might be fun to compile a post of little tips and tricks I have learned throughout my thrifting adventures! There is something so gratifying when, after digging for hidden treasures, you discover something perfect - and that you had no idea existed in the first place!

    I found two of these Strawberry Shortcake mugs at Goodwill for .49 cents each!

    Find & Frequent
    ALL of the thrift stores in your town! It is imperative that you explore as many as you can and frequent them... well, frequently! Thrift stores are getting new things almost everyday, and so the stock is in a constant state of changing - one day you might go and find absolutely nothing, and the next, you hit a jackpot! The Thrift Shopper was an incredible directory - just put in your zip code and it will show you a list of nearby stores!

    Leave No Stone Unturned
    Look through everything! Go through sheets, toys, records, books, clothing (including the mens and children sections!) - you never know what you might find! It is very time consuming, (and I am still guilty of skimming through things too quickly sometimes!) but chances are you will be rewarded for your hard work! One of my absolute favorite finds was a Disney's Cinderella soundtrack that I found in the very last stack of records there I looked through!

    This adorable cheerleader-esque pinafore skirt was missing a button, so I replaced it with two red ones!

    Be Open Minded
    Found a shirt with an awful shape but brilliant fabric? Instead of wearing it as an actual shirt, why not use it for backdrops or repurpose it into something that you will love? That said, don't go overboard and overwhelm yourself! Try not to buy anything that is truly beyond repair.

    Bring Hand Sanitizer
    This one is pretty important for me! Bring hand sanitizer when doing your searching (you never know where some of those things have been!) and be sure to wash the clothing throughly before use!

    My kitty Turnip investigating!

    And now I have to ask: what are your thrifting tips? I want to hear them!
    ♡,
    Kailey

    How To Make a Zine

    Friday, July 27, 2012


    OR HOW I MADE PISTACHIO

    It's been almost three months since I debuted Pistachio, and I'm still over the moon with what an incredible experience it was! I have been asked several times to help out with other people's zines and how I made my own, and since I've begun the beginning processes of creating the second issue, I thought now would be the perfect time to share with you How I Made Pistachio:

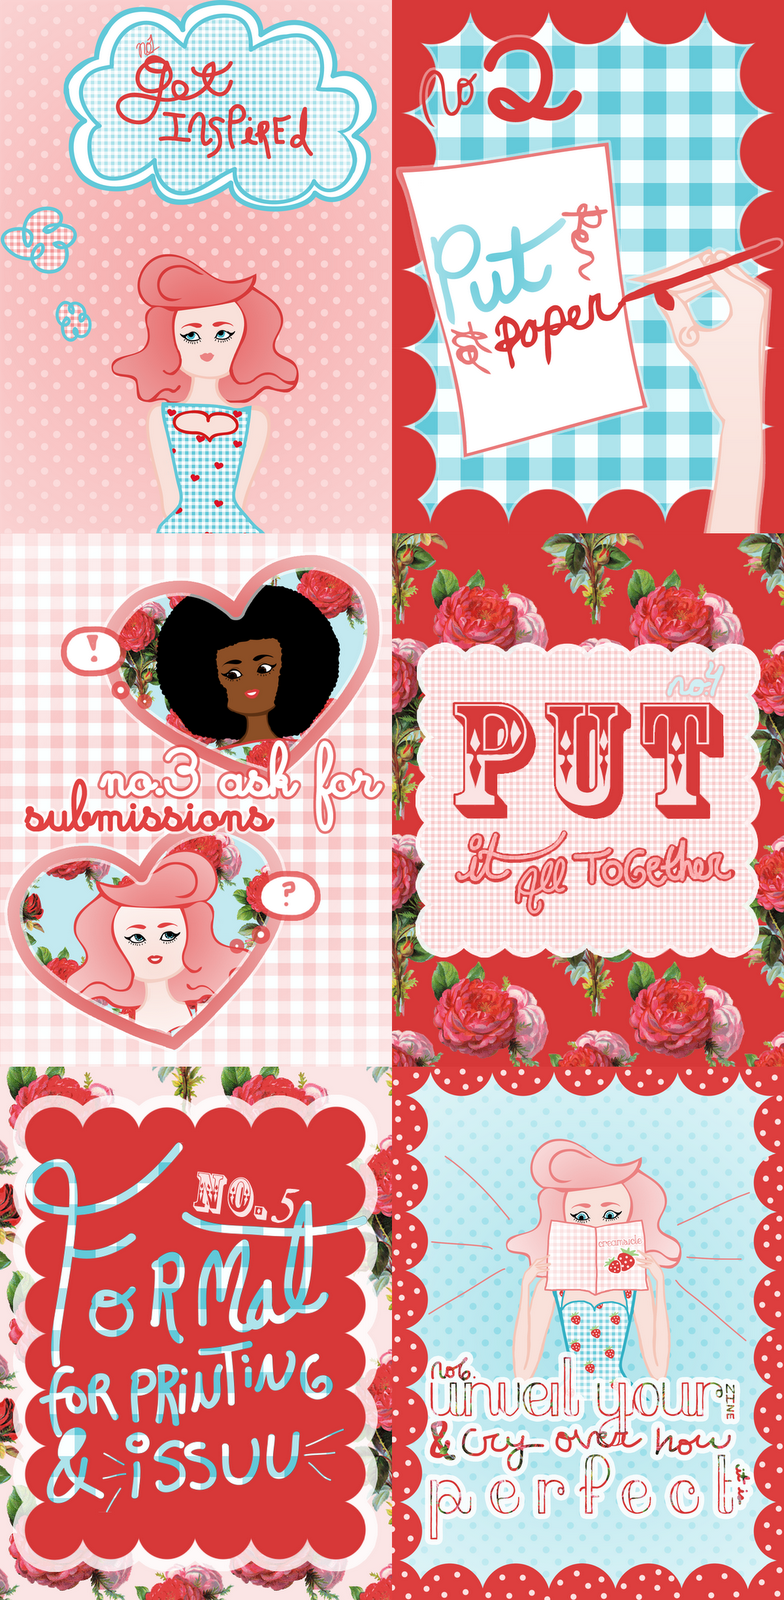
    NO 1: FIND INSPIRATION
    Regardless of whether it is a child's painting or the Mona Lisa, you need to be inspired by something and have a clear picture of what kind of theme, tone, and overall color scheme you want for the zine. I went through images and clippings I had saved to help shape the tone and theme I wanted.

    NO 2: PUT PEN TO PAPER
    Write the articles you want to write, draw the drawings you want to include, and take the pictures you want to take for the zine. Also, if you have started getting ideas for how you want the zine to look, sketch out layout ideas - this helped me figure out how I wanted arrange a series of pictures and text on a page.


    NO 3: ASK FOR SUBMISSIONS
    Now this isn't mandatory, but I cannot recommend it highly enough! I felt so honored when people I really admired consented to being a part of the zine, and when I posted a call for submissions here I received some really incredible submissions by people I didn't even know read my blog! Of course, there was some entries I had to turn down - they were great, but just didn't fit the aesthetic of my zine. Turning them down was hard, but this is *your* vision and you should not be obligated to include anything you don't want to. Just be kind when you tell them you can't use their piece!

    NO 4: PUT IT ALL TOGETHER
    Compile all of the illustrations, submissions, and articles and begin designing your zine! This was the most difficult part - there were so many possibilities! Using Photoshop CS4 and a design inspiration Pinterest board to help me, I designed and put together all the different elements into a page. One thing I noticed was I could spend hours and hours arranging all the pieces in the slightest different ways - and it got to the point where I was just wasting time. Unless you want a super sleek, professional quality zine, do not sweat the small stuff - for my specific case, what I was making was just supposed to be a fun, personal side project!

    NO 5: FORMAT FOR PRINTING AND ISSUU
    Another part I struggled with was the actual process of printing and figuring out how to upload it to Issuu, a site I really love because it allows you to flip through the zine as if it was a real magazine! I made two different versions of the zine, one formatted like the standard half-size zine (a great diagram for this can be found here) and the other as a pdf file to upload to Issuu. For more about uploading documents to Issuu, visit here.

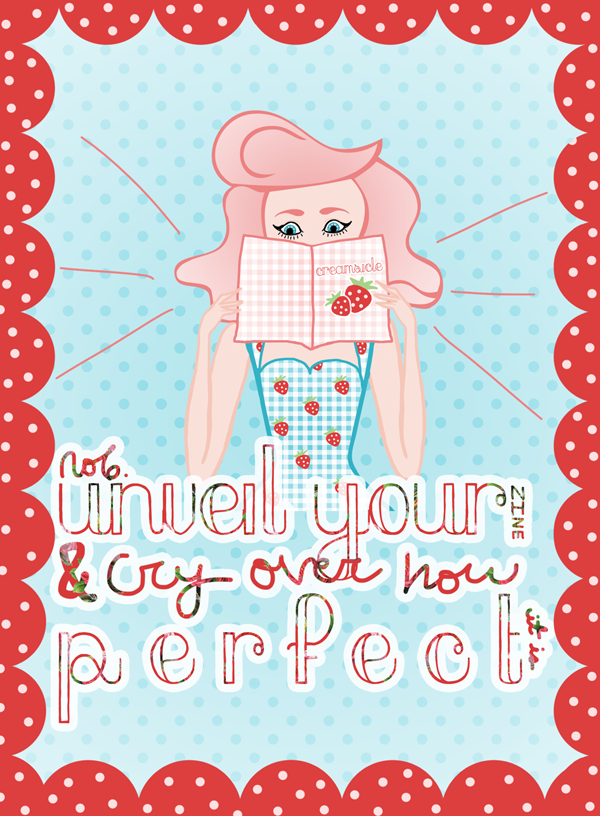
    NO 6: UNVEIL YOUR ZINE, PRINT OUT A COPY,
    AND CRY OVER HOW PERFECT IT IS

    Pretty self-explanatory! By the time I completely Pistachio, it was completely different from what I imagined and nowhere near perfect - but that didn't matter! I had created something I felt truly proud of and couldn't wait to share it with you all. As I said to my friend who expressed doubt over her artistic skills and thus felt like she couldn't make one herself, one of the best aspects of zines is that you are in control and can do anything you want with the zine - it doesn't matter if you aren't the world's greatest writer or artist, just write or illustrate what you feel and that will be good enough.
    Feel free to email or comment asking questions, and I will try to answer them to the best of my ability! Also please let me know about any zines you have created or are planning to make! I wanna hear about them ^^

    Floral background is courtesy of Pugly Pixel

    ♡,
    Kailey

    How To: Make Your Own Valentines

    Friday, February 3, 2012

    Personally, I have always LOVED Valentine's Day! I take this holiday as an opportunity to give my loved ones Valentines and show them how much I appreciate them (I firmly believe that this holiday shouldn't be ~exclusive~ for couples!) and eat wayyy too much discount chocolate on the 15th. I thought it might be fun to share with you how I make these valentines, and hopefully inspire a few of you to make some as well!

    You Will Need
    1. Multicolored cardstock/construction paper (and lots of it! Use any colors you would like, but be sure to have white on hand!)
    2. Glue
    3. Scissors
    4. Fiskars Paper Edgers (optional)
    5. Sequins and rhinestones
    6. Magazine clippings of your favorite people/things (optional)

    Begin by cutting out heart shapes - don't worry about making them perfect!

    Glue this heart onto white paper, and using Fiskars Paper Edgers, cut around the heart. This will give the paper a white patterned edge (if you do not have any of these scissors, you can hand cut scallops out, but this will be more time consuming).

    Now, line the colored heart with glue, and place sequins around the entire valentine.

    (This might take a while)

    Once you are finished, we have these beautiful bases! You can decorate these any way you want - I have a few examples of what I did below!

    For the valentines on the left and middle, I cut out magazine clippings of Edward Scissorhands and Saved by the Bell and used sequins to add some ~pizazz. For the valentine on the right, I sketched out Siouxsie Sioux and then cut out the shape of her hair, eyebrows, eyes, and the mouth with paper.

    For this pink one, I simply glued rhinestones onto the heart. Instant pretty!

    And lastly, I made this card by cutting out the shapes and assembling them into the image of Batman and Superman. As a particularly fitting finishing touch, I added this mushy line: "You're My Kryptonite".

    And there you have it! Pretty please let me know if you use this tutorial to make your own (I'd absolutely love to see them), and if you have any questions feel free to leave me an email or a comment!

    ♥, Kailey

    Make-Up How To: Annie Potts in Pretty in Pink

    Friday, October 14, 2011

    Caroline suggested I do a tutorial of Iona's make-up in PRETTY IN PINK. Being a huge fan of striking make-up, I jumped at the challenge. This is my first tutorial, and any feedback would be greatly appreciated! If you have any questions, feel free to ask.

    You Will Need:
    - Eyeshadow primer (I'm using Laura Mercier Eye Basics in Cotton)
    - Black mascara
    - Eyelash Curler
    - Black eyeliner
    - Light purple eyeshadow (I'm using #5 in the Pixi Mermaid kit)
    - Pink eyeshadow (I'm using Two Faced I Know What Boys Want)

    STEP ONE:
    Prep your eyes with your favorite primer, and begin covering your eyelid all the way to the brow bone in a light purple shadow. Next, use a pink shadow on the crease and brow bone.

    STEP TWO:
    Line your upper and lower lids with a fine pointed black eyeliner pencil - if you are more comfortable using liquid eyeliner, feel free to do so! End the lids with a cateye. Next, make a half-circle right above the crease. This can be rather tricky - I usually have to redraw the lines several times to get the shape I want.

    STEP THREE:
    Reapply light purple shadow to lid and pink shadow to crease and brow bone. Finish with mascara and curl your lashes.

    Your end result should resemble something like this:

    ♥, Kailey

    Mermaidens ©2011-2014 All rights reserved
    Portrait in Header Illustration by Sibylline Meynet designed by Designs Blue Moon