
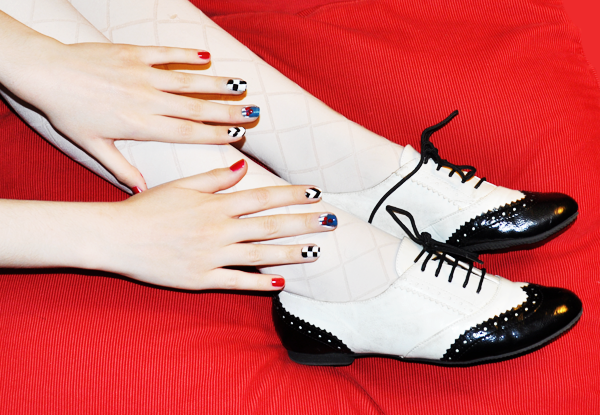
I asked Kate Gabrielle from Scathingly Brilliant, one of my absolute favorite bloggers, if she could do a DIY post whilst I'm busy moving - and this is what she came up with!
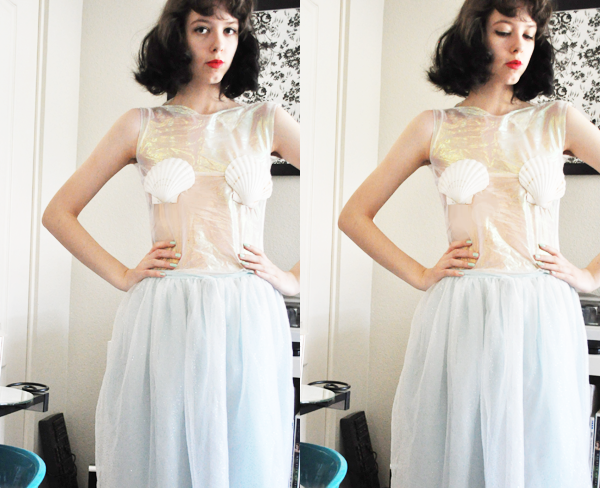
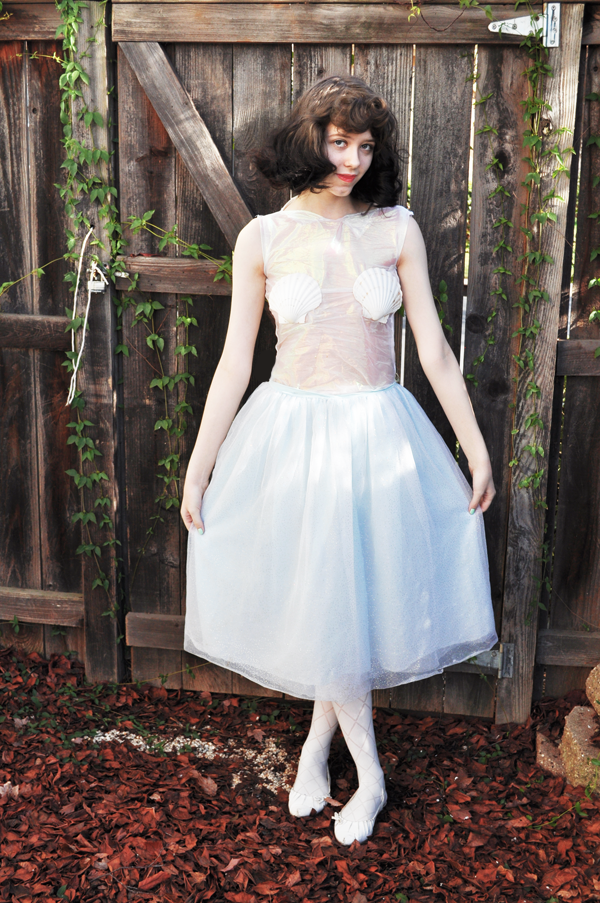
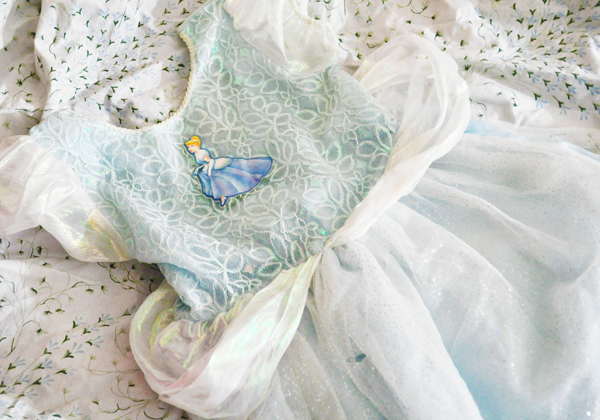
For my DIY post, I was inspired by Kailey's love of mermaids! I decided to create something that mimicked the pretty scaled pattern on a mermaid's fins, and came up with this easy peasy stamped dress project!
You'll need: a white cotton dress (or shirt, or skirt), two bottles of fabric paint (your main color and white), a wooden block (I stole one from my little brother's old block set), scissors, a compass, a piece of craft foam, a paintbrush and some free time.

1. With the compass, draw a half-circle onto your foam. You want it to be about the same width as the wooden block.
2. Using the half-circle as your guide, sketch in the rest of your scallop with pencil, and then cut it out.
3. Glue the piece of foam to the wooden block, making sure that the ends of the scallop are even with the top. (It's okay if the bottom of the scallop doesn't quite reach the bottom of the block :)
4. Make sure you have cardboard or something under your dress so the paint won't seep through to the back side! Then put a thin layer of fabric paint on your stamp using a paintbrush.

5. Starting at the top of the dress, stamp your first scallop. Then repeat the pattern underneath, with the next two scallops meeting in the middle of the one above.
6. For each new row, mix a little bit of white fabric paint with your other color to achieve the gradient look. This was an important part of my project because I knew that I didn't want to stamp the skirt (the gathering at the waist would have just been way too tricky to maneuver!) so I wanted it to fade to white before it hit the skirt.
7. Let your dress dry for a few hours (I let mine dry for 24 hours before I wore it, although it felt dry much sooner) and voila! You now have a brand new dress that would make any mermaid proud! :)


You can find Kate Gabrielle sharing her love
of pastels, cats, hayley mills, and DIY
projects at Scathingly Brilliant, and don't
forget to check out her etsy shop!
Thank you again Kate ♡!


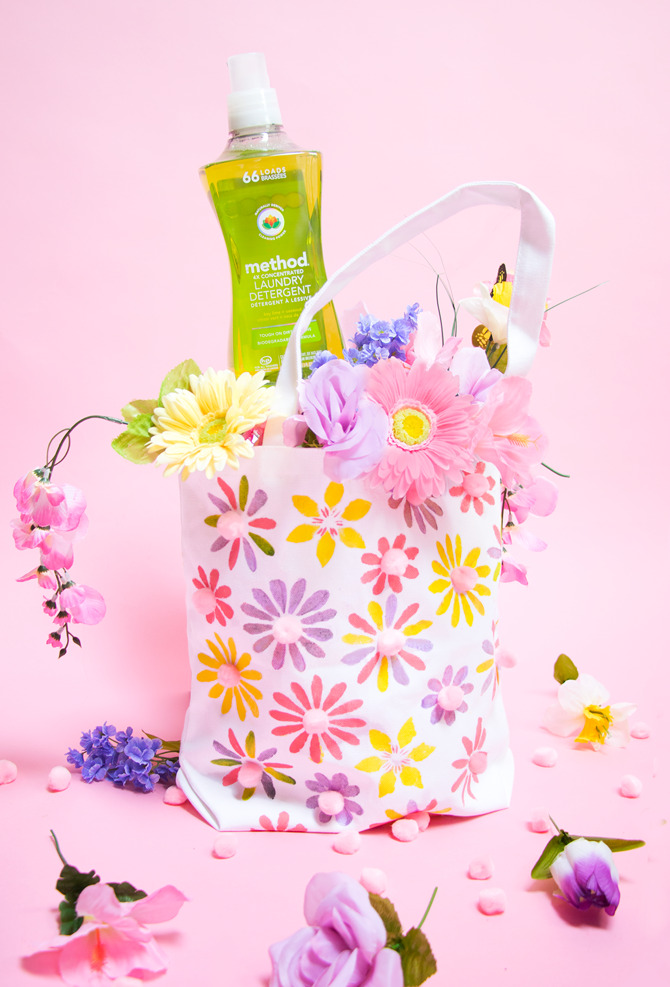

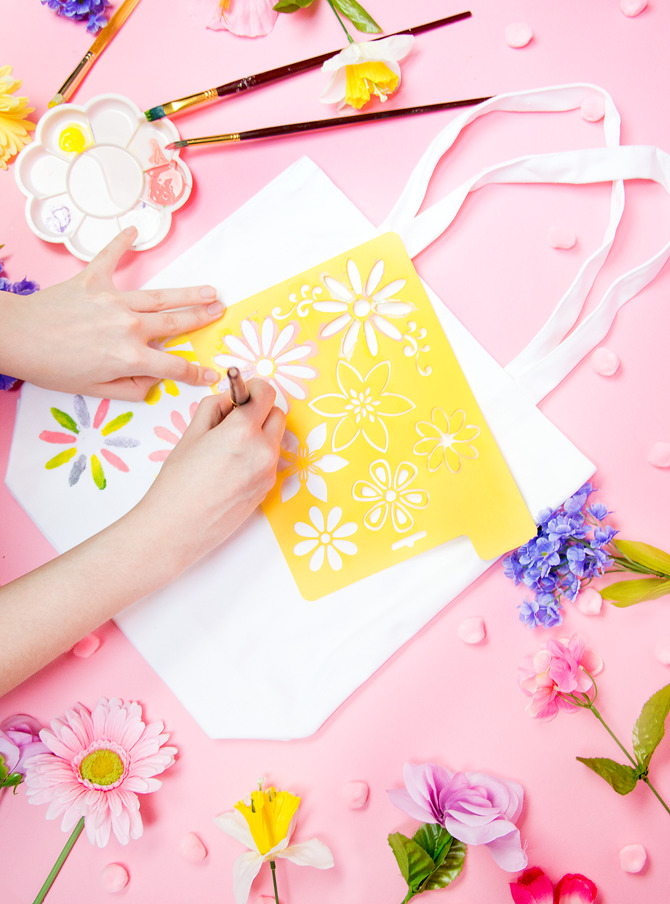
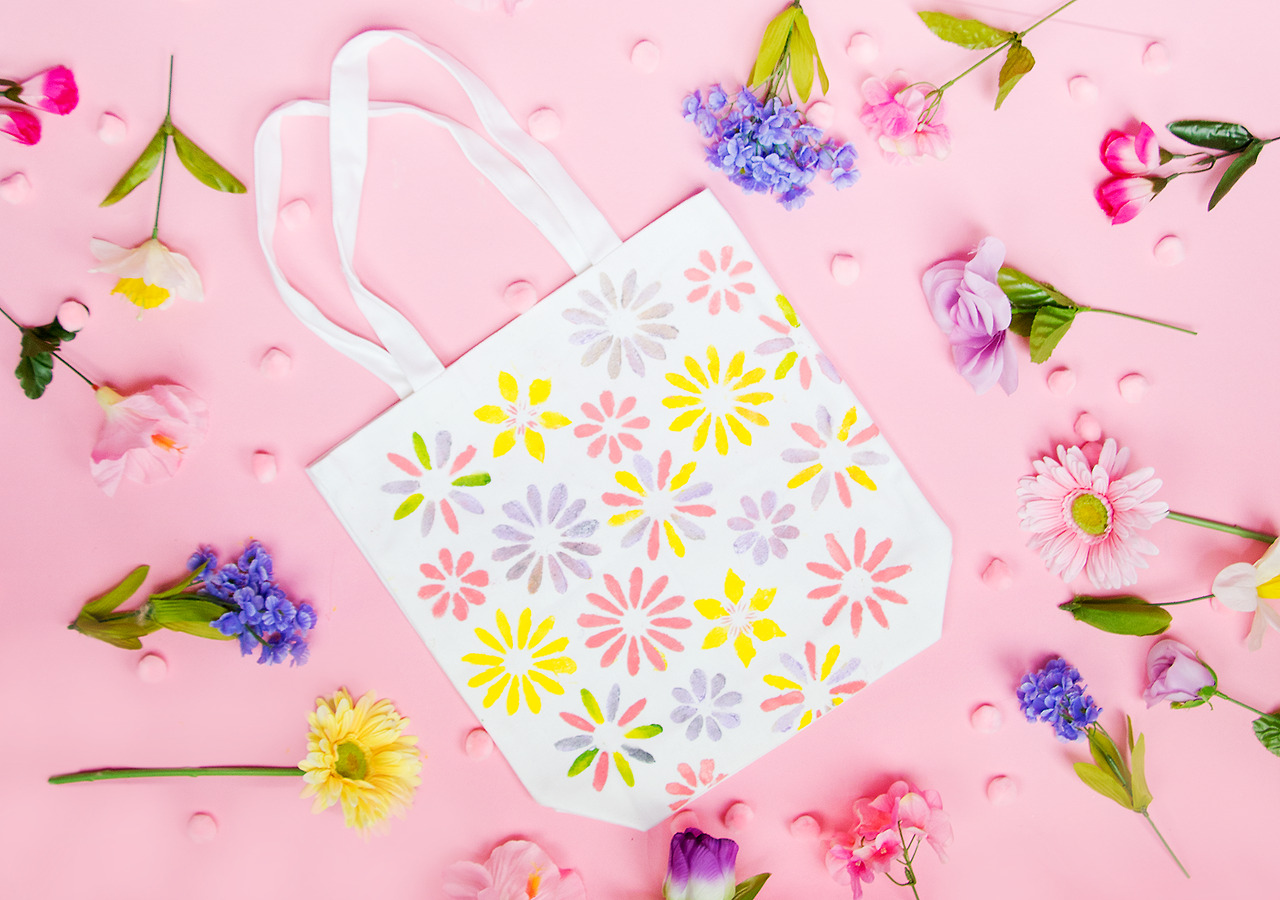
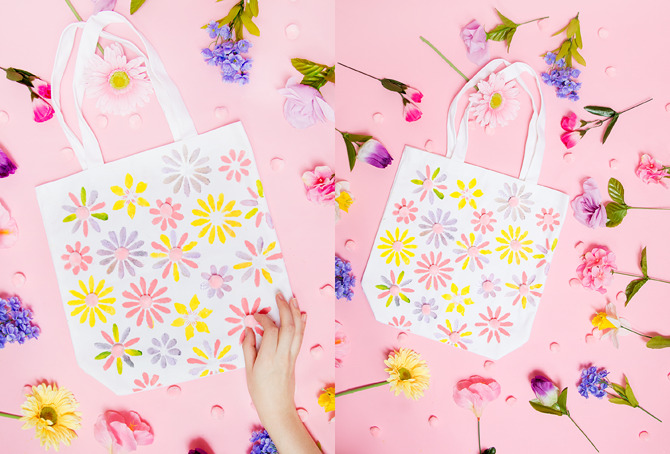
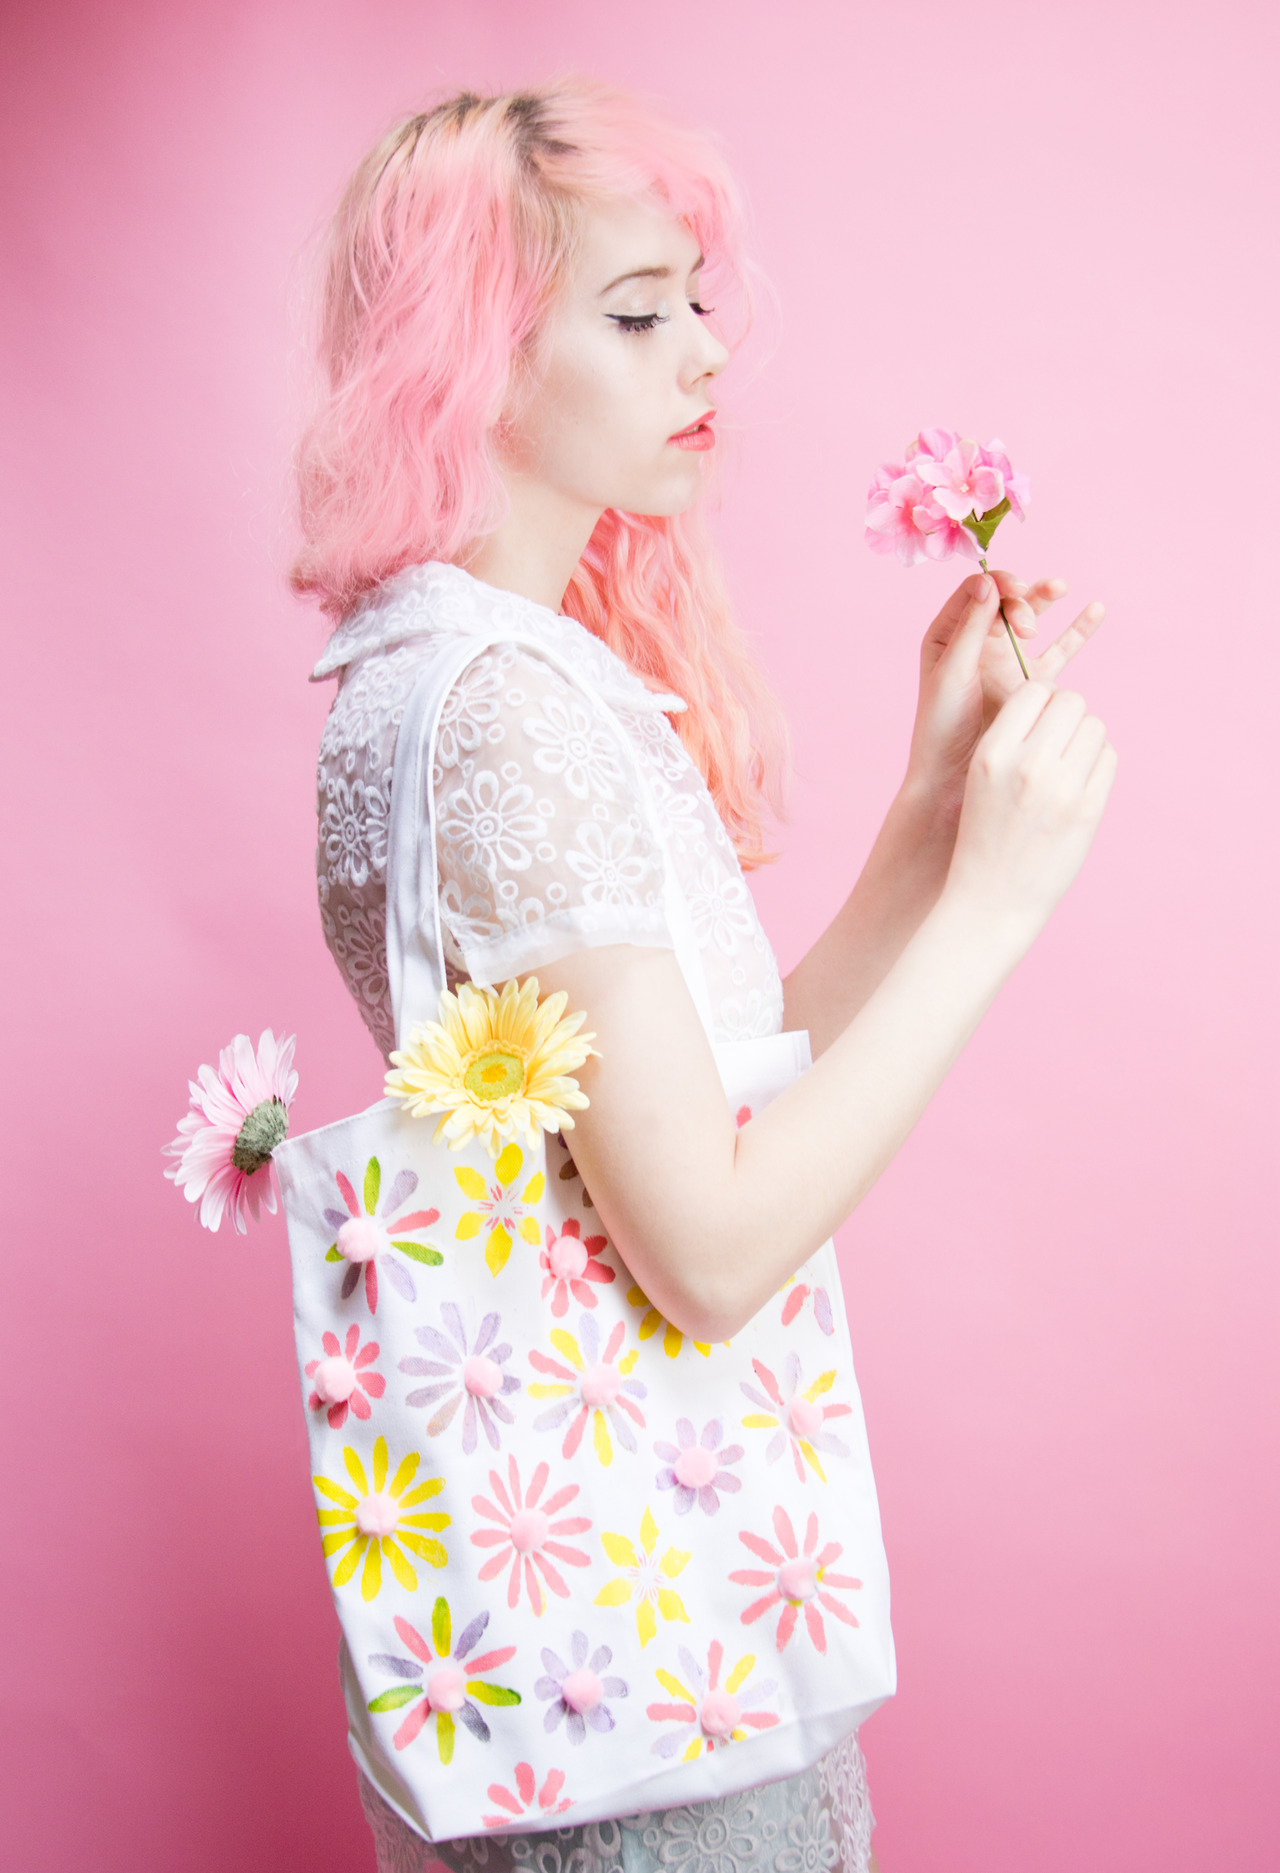 Et voila! A super cute (if I do say so myself…) tote bag - perfect for Spring! If you feared no mess, what would you create?
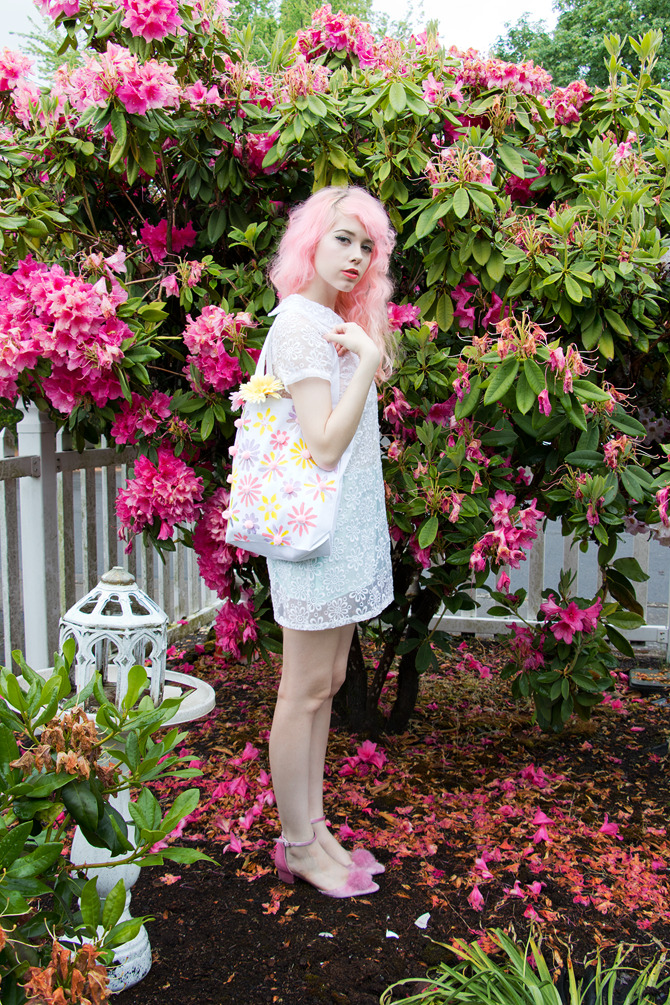
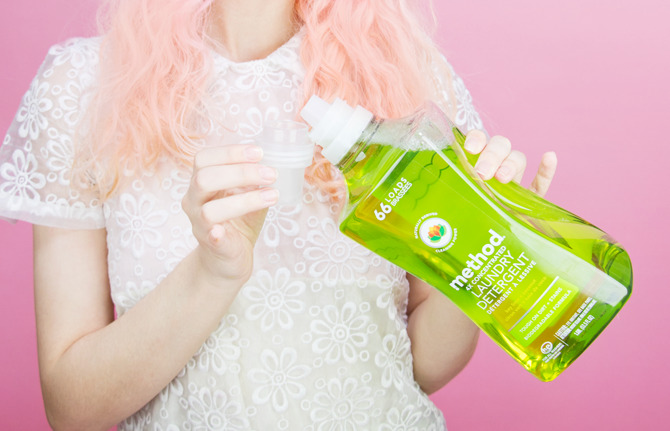
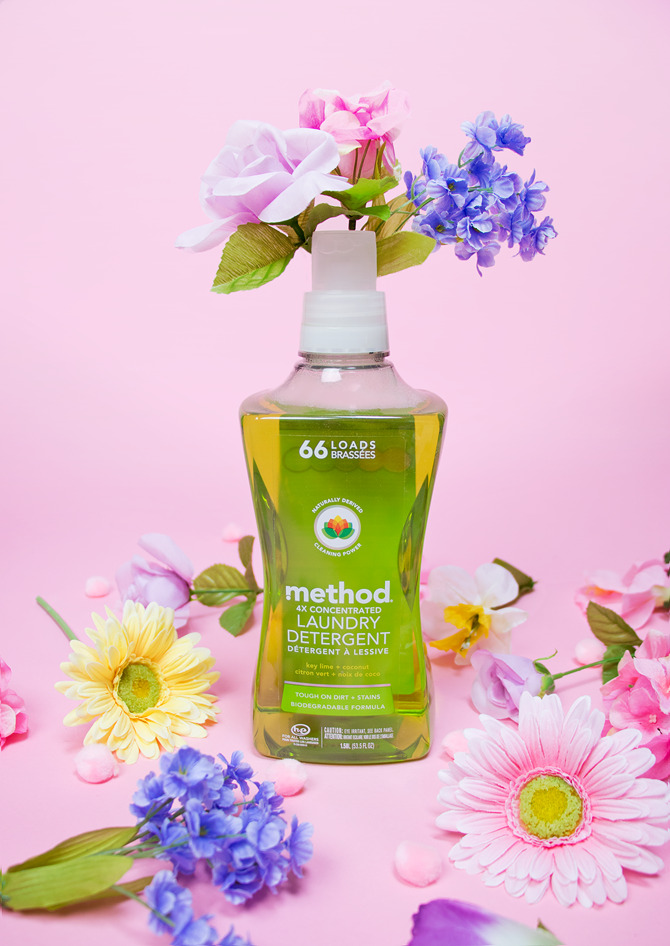 This post is sponsored by method. All opinions are my own. Thank you for supporting the brands that makes Mermaidens possible!


